Phone:
(701)814-6992
Physical address:
6296 Donnelly Plaza
Ratkeville, Bahamas.
Phone:
(701)814-6992
Physical address:
6296 Donnelly Plaza
Ratkeville, Bahamas.
Achieve the perfect outdoor storage solution by building a lean-to on your house - discover the essential steps and materials needed.
Building a lean-to on your house starts with thorough planning and obtaining necessary permits. You'll need basic tools like a circular saw, hammer, and measuring tape, along with quality lumber and roofing materials. Begin by preparing level ground and installing concrete footings below the frost line. Construct a sturdy frame using 2×4 lumber, attach plywood sheathing, and finish with proper roofing materials and weatherproofing. Our detailed guide will help you tackle each essential step with confidence.
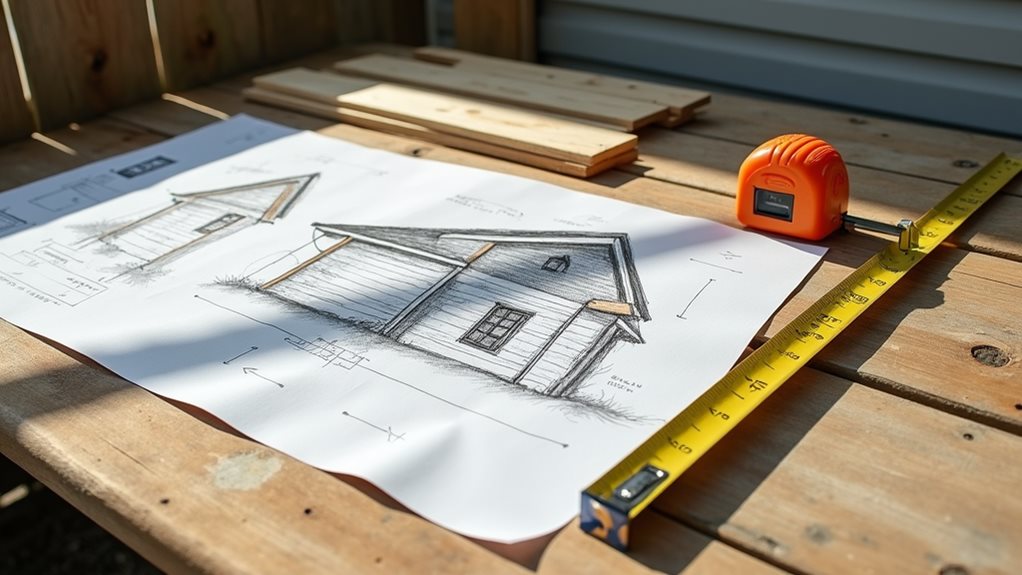
Success in building a lean-to begins with thorough planning, and you'll want to start by gathering precise measurements of your intended construction area.
Consider how you'll utilize your space, accounting for items like furniture, heaters, or planters that you're planning to include.
Before proceeding, check if you need design approvals from local authorities, though typically, lean-tos within property boundaries covering less than 50% of outdoor space don't require permits.
This DIY project requires approximately 15 to 20 hours of dedicated work to complete.
Share your design with fellow DIY enthusiasts or experienced builders to gather valuable feedback.
They'll help you refine details like proper slope for drainage and material selections that match your home's style.
Document your plans using online tools like Google Docs, ensuring your work is automatically saved and readily accessible throughout the project.
Building a lean-to requires three main categories of tools and materials: vital construction tools, structural components, and finishing materials.
You'll need fundamental tools like a circular saw, hammer, and measuring tape, while prioritizing tool safety with proper protective gear throughout the project.
For the structure itself, you'll want quality 2×4 lumber and 7/16" plywood sheathing, as proper material selection guarantees durability. The recommended pitch range of 1:12 to 4:12 will determine your specific material needs.
The roofing components include essential waterproofing elements like roofing felt and shingles, complemented by drip edges and a gutter system.
Don't forget your fasteners and specialized profiles – Capex Bars, F Profiles, and U Profiles will provide critical support and weatherproofing.
Finally, you'll need finishing materials like fixing buttons, flashing, and sealants to make sure your lean-to stands up to the elements.
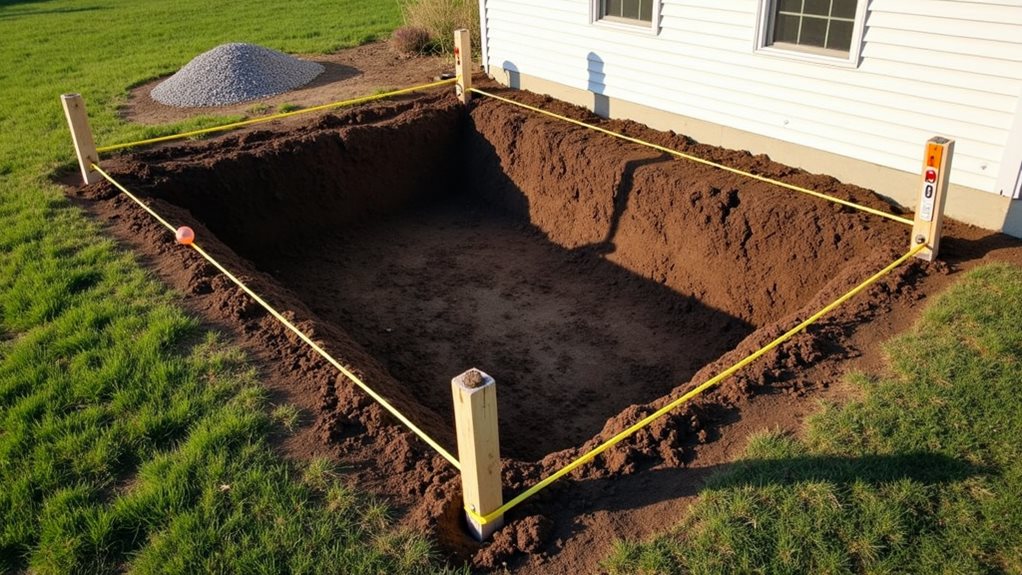
When building your lean-to, you'll need to start with a well-marked site that accounts for natural drainage patterns and allows for proper water runoff.
After identifying your build location, you'll dig post holes that extend below the frost line, ensuring they're wide enough to accommodate concrete footings and your support posts.
With your holes prepared, you can establish a rock-solid foundation using either concrete footings with pressure-treated posts or a concrete slab foundation, which should slope slightly away from the main structure to prevent water accumulation.
A properly marked build site serves as the foundation for a successful lean-to project, making it essential to carefully assess and prepare your chosen location.
Start with a thorough site assessment, checking that your ground is level and well-drained to prevent future stability issues. You'll want to verify local regulations and obtain necessary permits before breaking ground.
Using measuring tape and marking stakes, outline your lean-to's footprint precisely.
Don't forget to evaluate the natural water flow patterns across your property – this will help you position your structure to avoid moisture problems.
When you're mapping out the site, take time to conduct basic soil testing to understand what you're working with.
Proper post holes serve as the cornerstone of any sturdy lean-to structure, demanding careful attention to both technique and precision.
When you're ready for post hole preparation, begin by evaluating your soil conditions to determine if you'll need to soften the ground with water or break up compacted areas with a digging bar.
Start your excavation by cutting through the turf with a spade, creating a center pilot hole in your marked location.
You'll want holes measuring at least 16-by-16 inches square for 6×6 posts, with straight sides all the way down.
Work outward from the center using a long-handled shovel, keeping the handle tilted outward to maintain those critical straight sides.
The foundation of your lean-to serves as its structural backbone, determining both its longevity and stability in the years to come.
You'll want to select foundation materials that match your specific needs, with 6×6 pressure-treated timbers being an excellent choice for most builds. Before laying any materials, verify you've chosen a flat, firm site with proper drainage to prevent future settling issues.
Start by removing grass and creating a level surface, but don't over-dig, as this can lead to stability problems.
Once you've prepared the site, lay out your foundation timbers, verifying they're square and level by measuring diagonally across corners.
For added protection against moisture, wrap the bottom layer with plastic sheeting and create a compacted gravel base underneath.
This careful preparation will guarantee your lean-to stands strong for years.

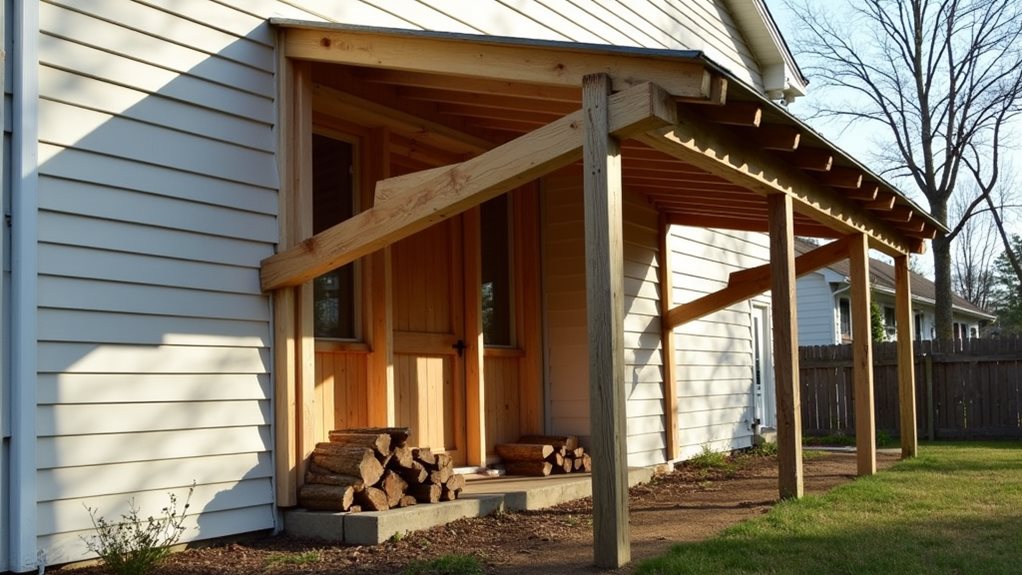
Building your lean-to's frame structure begins with selecting and preparing a sturdy attachment point on your existing wall, since this foundation will determine the overall stability of your project.
You'll want to guarantee proper frame alignment by carefully measuring and marking your attachment points, using appropriate anchors or screws to secure the frame to your house.
Once you've established your main support, construct the frame using 2×4 lumber, maintaining structural stability through precise measurements and square corners.
Space your rafters according to local building codes, typically 16 or 24 inches apart, and don't forget to incorporate a proper slope for water runoff.
You'll need to cut bird's mouth joints in your rafters where they meet the wall plate, ensuring a snug fit that enhances the overall strength of your lean-to structure.
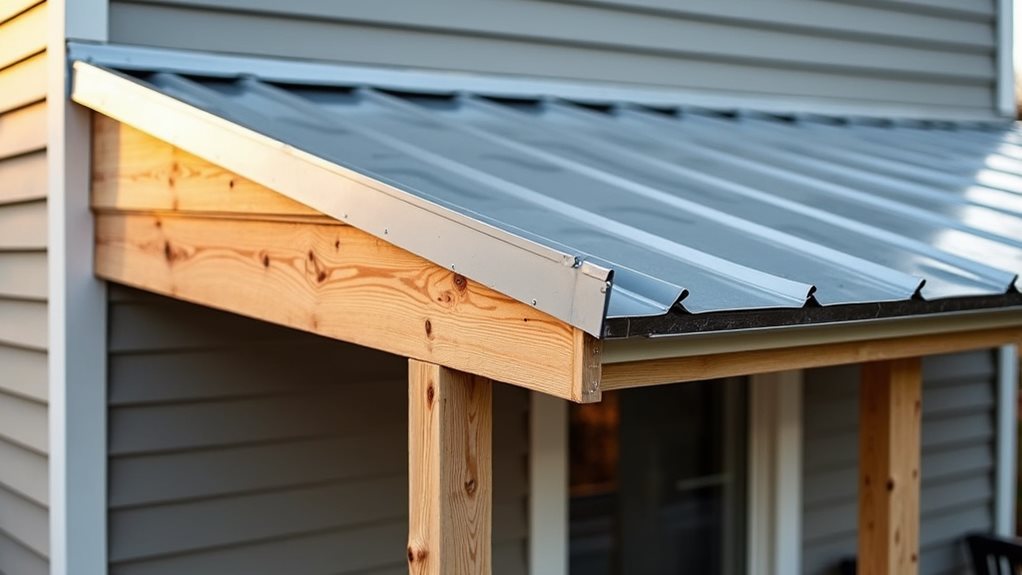
Successful installation of your lean-to's roofing system begins with careful preparation and selection of appropriate materials for your specific needs.
You'll want to gather essential tools, including safety gear, a circular saw, and roofing nails, while ensuring you've chosen roofing materials that match your home's aesthetic and local building codes.
Start by installing 7/16" plywood sheathing, securing it with nails every 6 inches along the edges and at each support beam.
Once you've applied the roofing felt and drip edge, you're ready to attach your chosen roofing materials.
Whether you're working with traditional shingles or metal roofing, follow the manufacturer's installation techniques carefully, working from bottom to top.
Don't forget to test for leaks by spraying water on the completed roof and inspecting from inside.
You'll need to focus on sealing your Lean-To against harsh weather conditions, starting with a thorough inspection for any gaps or weak points in the structure.
Creating an effective barrier against the elements requires careful application of natural sealants, such as moss or clay, combined with overlapping layers of branches and leaves to prevent water infiltration.
For enhanced protection, you can apply a weatherproof coating using natural resins or, if available, manufactured waterproofing materials, ensuring complete coverage of vulnerable areas.
The final fortification of your lean-to shelter depends on properly sealing it against nature's most challenging elements.
You'll want to start with waterproof materials like tarps or emergency blankets for your roof layer, positioning them at a steep angle to effectively shed rain.
For wind resistance, you'll need to carefully consider your shelter's placement and orientation against prevailing winds.
To create a truly weatherproof sanctuary, you'll need to focus on sealing gaps and reinforcing edges.
Layer your branches closely together, then add debris like leaves and ferns for insulation.
Don't forget to secure your ridgepole tightly and reinforce the sides with additional branches.
Remember to maintain your structure regularly, checking for any weaknesses that could compromise your shelter's integrity during harsh weather conditions.
Properly applying weatherproof coating stands as one of the most critical steps in protecting your lean-to shelter from nature's harsh elements.
You'll want to choose from various coating types that offer excellent adhesion to your structure's materials while ensuring breathability to prevent moisture buildup.
Begin by thoroughly cleaning all surfaces and repairing any cracks or damage.
When you're ready to apply, use a brush, roller, or airless sprayer to lay down thin, even coats at temperatures between 35-90°F.
Your application techniques should focus on consistency – it's better to apply multiple thin layers than one thick coat.
Don't forget to let each coat dry for about an hour before adding the next, and allow 2-5 days for a complete cure.
For added protection, consider incorporating nonslip aggregates into your final coat.
Building your own lean-to shelter can save you upwards of 60% compared to pre-fabricated options, making it a smart investment for your property. You'll find that with proper planning and execution, you've created a durable structure that'll serve multiple purposes for years to come. Remember to check local building codes and regularly maintain your lean-to, particularly the roofing and drainage systems, to guarantee its longevity and functionality.